There’s a huge learning curve if you’re just getting started in video production. I’ve been producing videos for years and it’s definitely not easy if you’re new to it! If you don’t have the skills yet, don’t want to spend the time building them, and have money to throw at the problem, outsourcing some or all aspects of your video production could be a wise choice.
OK, you’re still reading, so perhaps you want to do this yourself! Woo hoo! Keep going!
Great quality video at minimum requires a high-quality camera, well-positioned multi-point lighting, a high-quality mic, and a backdrop. The good news is you can get pretty good quality (maybe even great!) with equipment you already own.
Shooting needs
Camera
If you happen to have a standalone video camera or SLR that shoots 4K video, USE IT! If you have a standalone webcam that shoots HD or higher, that could be a good option too.
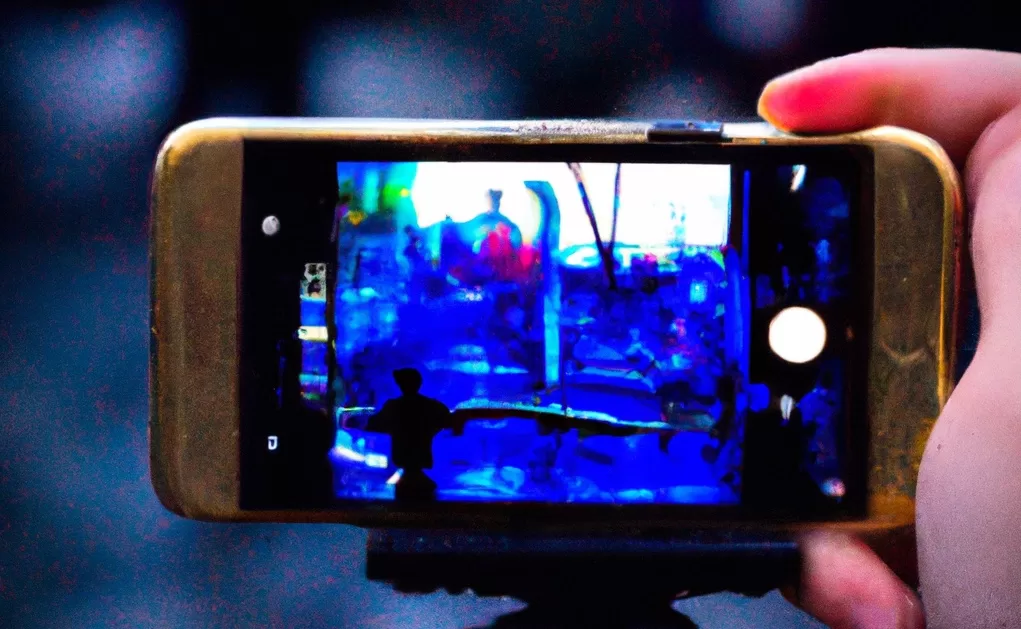
Even if you have these, though, consider your phone’s camera. The iPhone and other recent-generation phone cameras are kind of amazing and definitely better than your laptop’s built-in webcam. (Plus, if you’re all Mac, check out Apple’s Continuity app to use your iPhone camera as a connected camera on your Mac.) You’ll need to get a tripod or stand with a phone clip. And that’s really it.
If using your phone, experiment with shooting on the rear camera instead of the front. It’s nice to see yourself when you shoot, but it could be nicer to have the better quality the rear lenses give you if you don’t need a teleprompter. More on that in a bit.
And finally: avoid recording in Zoom! I know it’s easy but the quality is terrible. If you need to record on your computer, the best option is Quicktime (which can record video from a webcam). If you have a recent version of Camtasia you’ll get very good recording quality from it too. But really, really avoid Zoom for this.
Lighting
The best lighting uses a key, a fill, and a back light. You can accomplish this with household lamps if you position them well. Or consider ring lights for this. They’re cheap on Amazon and sometimes come with a phone mount in the middle. In general, more lights will give you better lighting, but even a single ring light around your phone will create a better image than nothing.
Natural light can work really well too, if the setup of your room allows it.
Mic
To get the best possible audio you want a mic close to the subject, which is why lavalier mics and boom mics exist. But you may not have one of those.
Luckily, your phone’s mic is surprisingly good – as long as you have it on a stand. Avoid hand-holding the phone since it could pick up sounds from your movement. And you’re better off avoiding AirPods because they noticeably compress your audio.
Backdrop
For setting up teachers with a backdrop, I’ve found a 5×7 backdrop on Amazon for maybe $30 and a stand to hang it for maybe another $30. For my home studio I use a cloth backdrop on a track I mounted to my ceiling. You can bootstrap this even more and use a blank wall or a nice bookshelf.
Teleprompter (optional but very useful)
There are great teleprompter options for your phone that allow you to shoot video on your front camera while reading the prompt as it scrolls. “Teleprompter Premium” by Teleprompter Apps Ltd. allows you to use a remote to control the scroll. “PromptSmart Pro” uses voice recognition to move the scroll (really amazing when it works, though if you say any words that aren’t written it can mess up). And there are plenty of others.
Editing and production needs
Once you’ve shot your video, you need to edit it! Here are a few tips.
Non-Linear Editor (NLE)
NLE just means a video editor. iMovie is OK but limited. Camtasia is a sort of middle-ground editor – lots of power compared to things like iMovie, plus some nice built-in effects, but not as powerful as the big editing systems. Camtasia is a great option, though, if you will be doing screen recordings as well as editing.
And if you want a pro-level editor for free (yes, really free) go with DaVinci Resolve… but know there is a STEEP learning curve if you’ve not used an NLE before.
Intro/outro
If you’ll create more than one video, a pre-packaged intro/outro with an adjustable title layout could be helpful. To get the best quality, you’d want to outsource this. Getting a custom animation (which you can do relatively cheaply on Fiverr) could serve you better than just finding a stock video to put behind a title.
But maybe you’re trying to save money. Camtasia has some nice intro/outro options (as expected, the good ones require a subscription). But there’s also royalty-free stock video for commercial use at pixabay.com if you can lay in your own titles. And there are plenty of other places to find free stock video.
Music
I love pixabay.com‘s royalty-free music. Tons of options and styles and very searchable. I’ve used their music in each of the three podcasts I’ve done.
~~~
I hope this helps you get started on the road to making great videos! If you have any other things you’ve tried, or if you want to share the videos you make, please leave ’em in the comments!